Monday, December 12, 2011

If you believe in prayer...

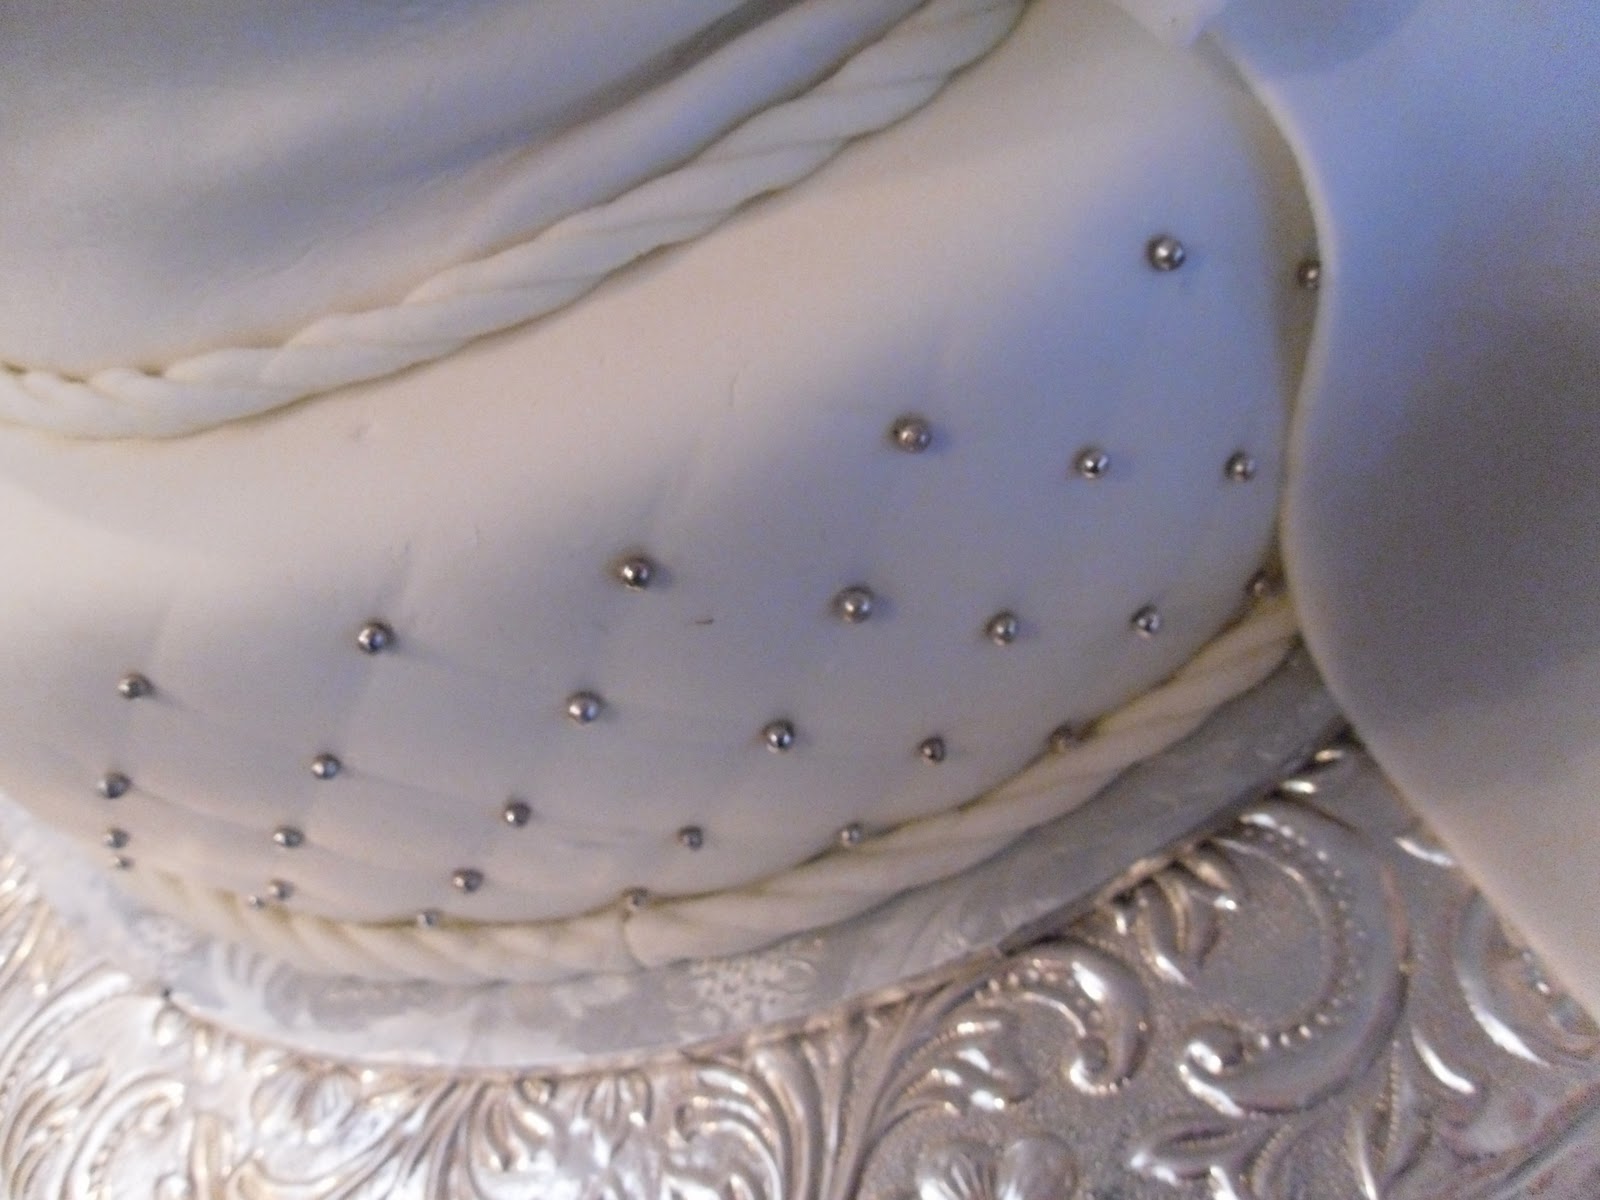
If you pray, you know that sometimes prayers aren't answered in exactly the way you plan. Such was the case last weekend when I was finishing up on a wedding cake. This was a 3-tier 6, 10, and 14 inch cake. The top tier and the bottom tier were done. The only decorations on the middle tier were a swagged ribbon and large bow. I had originally planned to use SugarVeil to make these with, but for some reason (probably because it was so cold in the kitchen), the SugarVeil was not setting up as quickly as I hoped. Finally, I said a prayer that basically asked that the SugarVeil set up quickly so that I could finish the cake. I waited as long as I could, tried finishing up on the decorations, and I was just not happy with the way they were turning out as the SugarVeil was still not set up as well as it should have been. Next idea... make the ribbon and bow from fondant... too limp. Last resort, make the ribbon and bow with part gumpaste and part fondant for added stiffness. I rolled the ribbon out and placed it on the cake with a little water, then cut out the bow and tails and put them in a plastic container to put on the cake after the tiers were set up. Final result... so much nicer than I would have ever expected. So you see, the answer to the prayer was that the SugarVeil did not set up, but I was forced to use my creativity for something that turned out much better. I later said a prayer of gratitude for the help I had received.


Wednesday, December 7, 2011

And you thought I was on vacation...

In November I was in Hawaii, visiting my daughter after the birth of third baby...little Hunter Owen. While there I played maid, nanny, grandma, mom, and of course, cake decorator. I was able to attend Hunter's baby shower while there and this is the cake that we came up with...

Dad is in the Air Force, hence the little camo outfit and dog tag. We had extra cake, so we made a few cake pops for the kids also. I used the buttercream flow-in method for the design, and chocolate buttercream for outlining and trim. I grabbed one of dad's hats to use as a sample for the camouflage pattern.
Here is a picture of little Hunter in his Hawaiian outfit that mom made for him...


Saturday, December 3, 2011

I love my new KitchenAid!!


I know, you're probably saying "she bought another KitchenAid?" Well, I have had my other ones for an eternity and yes, they still work, but...this one was on sale at Costco for $50 off...and it's a professional model, so it's more heavy duty...and it has a larger, wider bowl...and it matches my KitchenAid food processor and my KitchenAid blender...and I used my cake money...and I think I deserved it...and, and, and... Anyway, I absolutely love it! It's very easy to work with, and the speeds start out very slow, especially compared to my old ones, which really means less mess. 

So I needed to make a batch of fondant last night for a cake I was doing today, so I thought I would check out how the new mixer would handle the job...oh wow! It was perfect! I first slightly greased the bowl, then put in 5 cups of sifted powdered sugar. I poured in the melted marshmallow mixture after putting on the heavy duty spiral dough hook, and on a low speed, let the mixer do it's thing. You will notice that part of the sugar looks like it will be stuck to the bottom of the bowl, but a little at a time the dough hook will pick up the sugar, and eventually incorporate all of the sugar into the dough. At that point, is when I transferred the dough onto my silicone mat and kneaded the last 1 cup of sugar into the dough by hand. It turned out so smooth and perfect after letting it set overnight, and no air bubbles whatsoever. I'm wondering now what would happen if I kneaded the final cup of sugar with the dough hook instead of by hand... I was always afraid to do that before because the dough gets so stiff, but with this pro model, I may be able to do the entire kneading with the mixer. It would sure save time. I will try next week with my next wedding cake. 

Just for the record, I now have 4 KitchenAid mixers plus my other KitchenAid appliances, and we just bought a classic KA mixer for my oldest son's family for Christmas. Both of my other children have KA mixers. I should have a share in the company.

Here is a picture of the cute shower cake I did today...just so happened that the shower was postponed until next weekend because of inclement weather, so we packaged it up for the customer to put in the freezer until then.


Friday, November 4, 2011

The best cream cheese icing recipe...

Updated 4/6/18

A follower of my blog asked me if you could put fondant over cream cheese icing. I have learned from experience that it is best not to use cream cheese icing under fondant. The icing tends to have some kind of an interaction with the fondant, making it a little "slimy" and not very appetizing. If you want the flavor of the cream cheese icing, you can always use that as a filling and then put buttercream under the fondant.  This is a great tasting cream cheese icing recipe I have found. It's actually Wilton's recipe with a little tweaking. If you have followed my blog in the past, you know I am not a huge fan of Wilton, but there are a few things that I do like about their recipes and other things...and they are getting better with the products they offer.    

Cream Cheese Icing

(2) 8 oz. packages cream cheese
1 cup butter (2sticks) -slightly softened
8 cups powdered sugar

Cream the butter and cream cheese and butter together for a few minutes. Be sure the butter is not too soft. Gradually add the powdered sugar and then beat until fluffy. The Wilton recipe calls for adding 1 T. of milk, but I skip this step and like the way it turns out. It's not too soft and holds it's shape for borders and other simple decorations, and even simple roses. 

Recently, I have found another cream cheese icing recipe that hold up much better to decorate with.

Decorator's Cream Cheese Icing

1/2 cup (4 oz,) hi-ratio cake shortening
1/2 cup (4 oz.) butter at room temperature
1 8 oz. brick cream cheese
2 lb. sifted powdered sugar
1-2 T. cream
2-3 t. clear vanilla or butter vanilla
1/4 -1/2 t. salt (use lesser amount if using salted butter)

Beat shortening, butter, and cream cheese together with salt and vanilla. Add powdered sugar and cream and beat until smooth, but do not over beat. 


Carrot cake with cream cheese icing and pecans
Lemon Berry Delight - lemon cake with raspberry and lemon fillings, iced in cream cheese icing


Friday, September 30, 2011

Making a "Chocolate Lovers Cake"

Today I made an anniversary cake for a customer whose wedding cake I also made a year ago. The wedding cake was actually a small 2 tier chocolate lovers cake with pink roses. The anniversary cake I did today was an 8 inch round chocolate lovers with pink roses. 


As I was decorating the cake today, I decided to take some pictures, so you could see how I put one of my chocolate lovers cakes together, so this blog post will be a tutorial...

My chocolate lovers cake consists of
  • moist chocolate cake
  • fudge filling
  • chocolate buttercream frosting
  • dark chocolate ganache
Bake the cake the night before so it is not too fresh to decorate. Remember, I never freeze my cakes because I believe it makes a difference in the way they taste.


Make the fudge filling and chocolate buttercream...

Fudge filling
Chocolate buttercream frosting

Remove parchment paper liner from one layer of cake and place on cake board the same size as the cake. Level off the cake and slice layer in half with a cake saw or large knife. Remove top half of layer and set aside.


Pipe an "icing dam" around bottom part of layer with chocolate buttercream. Do this using only a coupler in the decorating bag without attaching a tip. This will keep the filling intact. Also, it helps to keep your cake level. 


Fill inside the icing dam with fudge filling.


Position top half of layer, add icing dam, and fill with chocolate buttercream.


Level next layer, and position upside down on top of first layer. Remove parchment liner, and split layer in half.


Repeat same as for bottom layer, adding icing dam and fudge filling.


Replace top of layer over filling, which is actually the flat bottom of the cake. You should now have a nice flat cake, ready to be iced with chocolate buttercream.


Ice cake with chocolate buttercream and let set while making the ganache.


Position wire cooling rack over turntable, and place the cake on the rack. I like to use a turntable, so that you can turn the cake while applying the ganache to make sure all the sides are being covered. I like the Oxo turntable because it has sides on it that allows the ganache to settle under the cake without flowing over the edge. 


Chocolate ganache consists of heavy whipping cream and dark cocoa candy melts. Heat the cream until hot but not boiling. Add the candy melts and stir until smooth.


Pour ganache over cake and allow to drip through cooling rack. Carefully turn turntable to make sure all sides are being covered. Allow ganache to set up before moving to covered cake board.


After ganache has set, move to cake board and decorate as desired.


Whip up remaining ganache slightly as it cools, allowing it to firm up enough to put in a decorating bag with tip to pipe borders, flowers, etc. I usually do all of the decorations in the chocolate ganache.


Finished cake...serve with tall glass of ice cold milk...yum!


Monday, September 12, 2011

Grooms Cake for Avalanche fan...

Jake Lundy, the groom at the last wedding we catered, is a huge Colorado Avalanche fan, so this is the cake I did for him. It was a carrot cake, covered with fondant, and the emblems were all cut out of gumpaste, using my Cricut Cake and Make the Cut software.


Cupcakes...

Did I ever say how much I dislike doing cupcakes...especially for weddings? If you don't know by now, I really don't like doing cupcakes, especially when I'm working on a large catering order, and the bride wants cupcakes instead of a cake. Cupcakes rank right up there with sheet cakes in my book. They actually cost about the same as a nice cake, but...

  • You need to do them the day of the wedding so they will be fresh
  • They take allot of time
  • They need to be placed on a special cupcake stand to look pretty
  • They can be messy to eat
From now on, when I have a large catering order and the bride wants cupcakes, I'm sending them to my friend Shelly, who enjoys decorating cupcakes.

So last Saturday, I was still working on the cupcakes when we should've been leaving for the catering job. They turned out pretty, yes, but they were a pain in the ...  These cupcakes were four different flavors...fudge marble with Bavarian Creme filling, Swiss chocolate with coconut pecan filling, vanilla with raspberry mousse, and carrot. They all had cream cheese frosting. Some were decorated with fondant flowers, while others were decorated with air-brushed fondant and edible lace made from Sugarveil. I decorated an 8 inch round to place on top of the cupcake stand for the bride and groom to cut for pictures.