Monday, August 29, 2011

Fun birthday cakes...

Here's a cute upbeat cake for someone turning 40...a nice change from all of those "over the hill" cakes.

Here's another cute little cake I did for my friend Kelly's husband. He loves German Chocolate cake, and he's also into war games, so here's what we came up with, so there wouldn't be allot of cake left over.


Sunday, August 21, 2011

Sweet cake for a sweet girl...

Designed this cake yesterday for sweet little Ella Davis, who was baptized yesterday. Her favorite colors are, of course...pink and purple. Chocolate with bavarian creme. Perfect little CTR emblem to remind her to "choose the right." Congratulations on your big step, Ella. Hope you enjoyed your cake.


Sunday, August 14, 2011

Sheet cakes vs. specialty cakes...


So, over time I have developed a dislike for sheet cakes at weddings...a few reasons why...

  • they take up allot of room
  • they don't look all that great
  • only one layer of filling vs. two
  • square little piece of cake looks tacky on plate
  • usually not allot of variety
When my bride's want a smaller wedding cake, and want extra cakes to complete the number of servings needed, I now try to convince them to go with round specialty cakes instead of the sheet cakes. Not only do they look nicer, but serve up nicer, and give your guests more variety. The price is almost the same, and the results far superior, at least in my humble opinion. When I'm catering a wedding and also furnishing the cake, we have a separate table for the wedding cake (of course), and then at the end of the buffet table, I will set up the specialty cakes. That way, if the bride wants to wait for awhile before cutting the cake, the guests can still have a piece of cake early in the reception. I usually prepare about 3 different flavors, and set the cakes up on glass blocks. Some brides that are having more than one reception, will have their wedding cake at one reception, and then opt out for serving only the specialty cakes at another reception or open house. Also, for older brides or second marriages, some are going totally for the beautiful specialty cake set-up instead of a wedding cake. Some of my most popular flavors are chocolate lover's, raspberry fudge, carrot with pecans, strawberry shortcake, banana split, spice with cream cheese pecan, and Shirley Temple. Check out these pages on my website to read about each of these flavors...
 http://www.cathyleavittcreations.com/home/specialty-cakes
http://www.cathyleavittcreations.com/flavors

Specialty cakes in lieu of wedding cake...on separate table
Specialty cakes at end of buffet table

Monday, August 1, 2011

Air Force Flag cakes...labor of love

I had another order for one of my Air Force flag cakes that went out this morning. These cakes are a little more pricey for my customers...just because there is allot of work involved. It is a several days project whenever I decorate one of these cakes. First, I cut out all of the emblem pieces from gumpaste on my Cricut Cake. After they are all dry, I airbrush them, and again let the pieces dry. Once they are dry, I assemble all of the pieces together...it's kinda like a puzzle. I try to get these done a few days ahead of time. Two days before the cake needs to be ready, I mix up the Sugarveil, because the mixture has to set awhile before you can spread it out. That same day, I bake the cakes, so they can set overnight. The day I decorate, I make the fillings and icing, and then fill, ice, assemble, and decorate the cake...everything except the flag and emblems. Several hours before I'm ready to lay the flag and emblems on the cake, I spread the different colors of Sugarveil onto my silicone mats. This is the tricky part. The amount of time it takes for the Sugarveil to set depends on the weather conditions...how hot it is and mainly the humidity. So, usually it takes several hours, anywhere from 3-4 hours to overnight. You have to keep checking it because it has to be at the stage where it is set, but still pliable so you can work with it. If you let it set too long, it becomes brittle. So because I want the flag to drape nicely on the cake like a real fabric flag, I watch the Sugarveil very closely to make sure I catch it at the correct stage to cut and assemble the pieces. I recently purchased a new mini star scrapbooking punch, which is the perfect size for the stars I need. I cut out all of the pieces, and then assemble the flag. The pieces just stick to each other without adding anything special. I then position the flag on the cake, and put the emblems on top with a bit of icing. Each flag cake that I have done thus far, has something a bit different. This latest order had an oak leaf emblem that was half in gold and half silver, signifying the promotion from major to Lt. Col. So yes, the price is extra for the customer, but the the final product is a real showstopper!


Monday, July 25, 2011

I get excited over small things...

The littlest things sometimes tend to excite me the most. Case in point...the last time I made brownies, they turned out PERFECT! A few years ago, I wrote a post about the difficult time I had making brownies at this altitude. So, I have tweaked the recipe several times, even trying new cake pans, and never being quite happy with the results. I wanted to be able to bake my recipe in a 9x13 pan without the problem of the brownies sinking in the middle. The last brownie order I had was for regular and mint brownies...both turned out great. I don't know if my recipe was just right, or if the atmospheric pressure was just right that day, or what...but they turned out perfect. Here is my regular brownie recipe, along with my high altitude recipe that I use here in the Springs.

BROWNIES


½  cup melted butter
1 cup sugar
1 tsp. vanilla
2 eggs
½  cup flour
⅓ cup cocoa (unsweetened baking)
¼ tsp. baking powder
¼ tsp. salt
½ cup chocolate chips
½ cup nuts (optional)

Blend melted butter, sugar, and vanilla in mixing bowl. Add eggs and beat well. Combine flour, cocoa, baking powder, and salt; add gradually to egg mixture until well blended. Stir in nuts and chocolate chips. Spread in a greased and floured and parchment lined 8 or 9 inch square pan. Bake at 350° for 20-25 minutes or until brownie begins to pull away from edges of pan and toothpick inserted in center comes out clean. When cool, sprinkle with powdered sugar or frost with chocolate icing. For 9x13 pan, triple the recipe, use 1 cup chocolate chips, and bake about 40-45 minutes.

Variations

Mint:  To original recipe, replace chocolate chips with Andes mint pieces. When cool, ice with mint icing: Combine 2 cups powdered sugar, ½ stick butter, ½ tsp. mint flavoring, green food coloring, and enough milk to make thin consistency. Ice and let set, then ice with chocolate buttercream frosting.

Cheesecake Swirl or Raspberry Cheesecake Swirl:  Combine the following until smooth and fluffy. Do not use entire recipe-this will be enough for several pans of brownies:
1 (8 oz.) package cream cheese
1/3 cup granulated sugar
1 tsp. vanilla
1 egg

Spoon dollops of cream cheese mixture onto brownies and swirl with knife, or for raspberry cheesecake brownies, spoon dollops of cream mixture alternately with raspberry filling or jam and swirl with knife. Bake about 5-10 longer than original recipe. Check doneness with toothpick inserted into center. When cool, ice with cream cheese icing: Beat together until fluffy (1) softened 8 oz. package cream cheese, ½ stick of butter, 1 tsp. vanilla, and about 2 cups of powdered sugar.


HIGH ALTITUDE DIRECTIONS FOR
MOM’S BROWNIES


Yield: Makes 9x13 pan (You can half the recipe for an 8 or 9 inch square pan; bake for 30 minutes)

1 ½ cups butter, melted
2 ¾ cups sugar
1 T. vanilla
6 extra large eggs
1 ¾ cups flour, unsifted
1 cup cocoa
½ t. baking powder
¾ t. salt
1 T. water
1 cup chocolate chips

Prepare as directed for regular brownies, except change to above amounts for ingredients. Also, do not grease sides of pan. Bottom only!  Bake at 350° for approximately 45-50 minutes, or until toothpick inserted in center comes out clean, and center is firm to the touch. Run knife around outside of brownies before removing from pan.

Regular brownies with chocolate chips...no sinking in middle
Mint brownies with Andes mint pieces...no sinking in middle
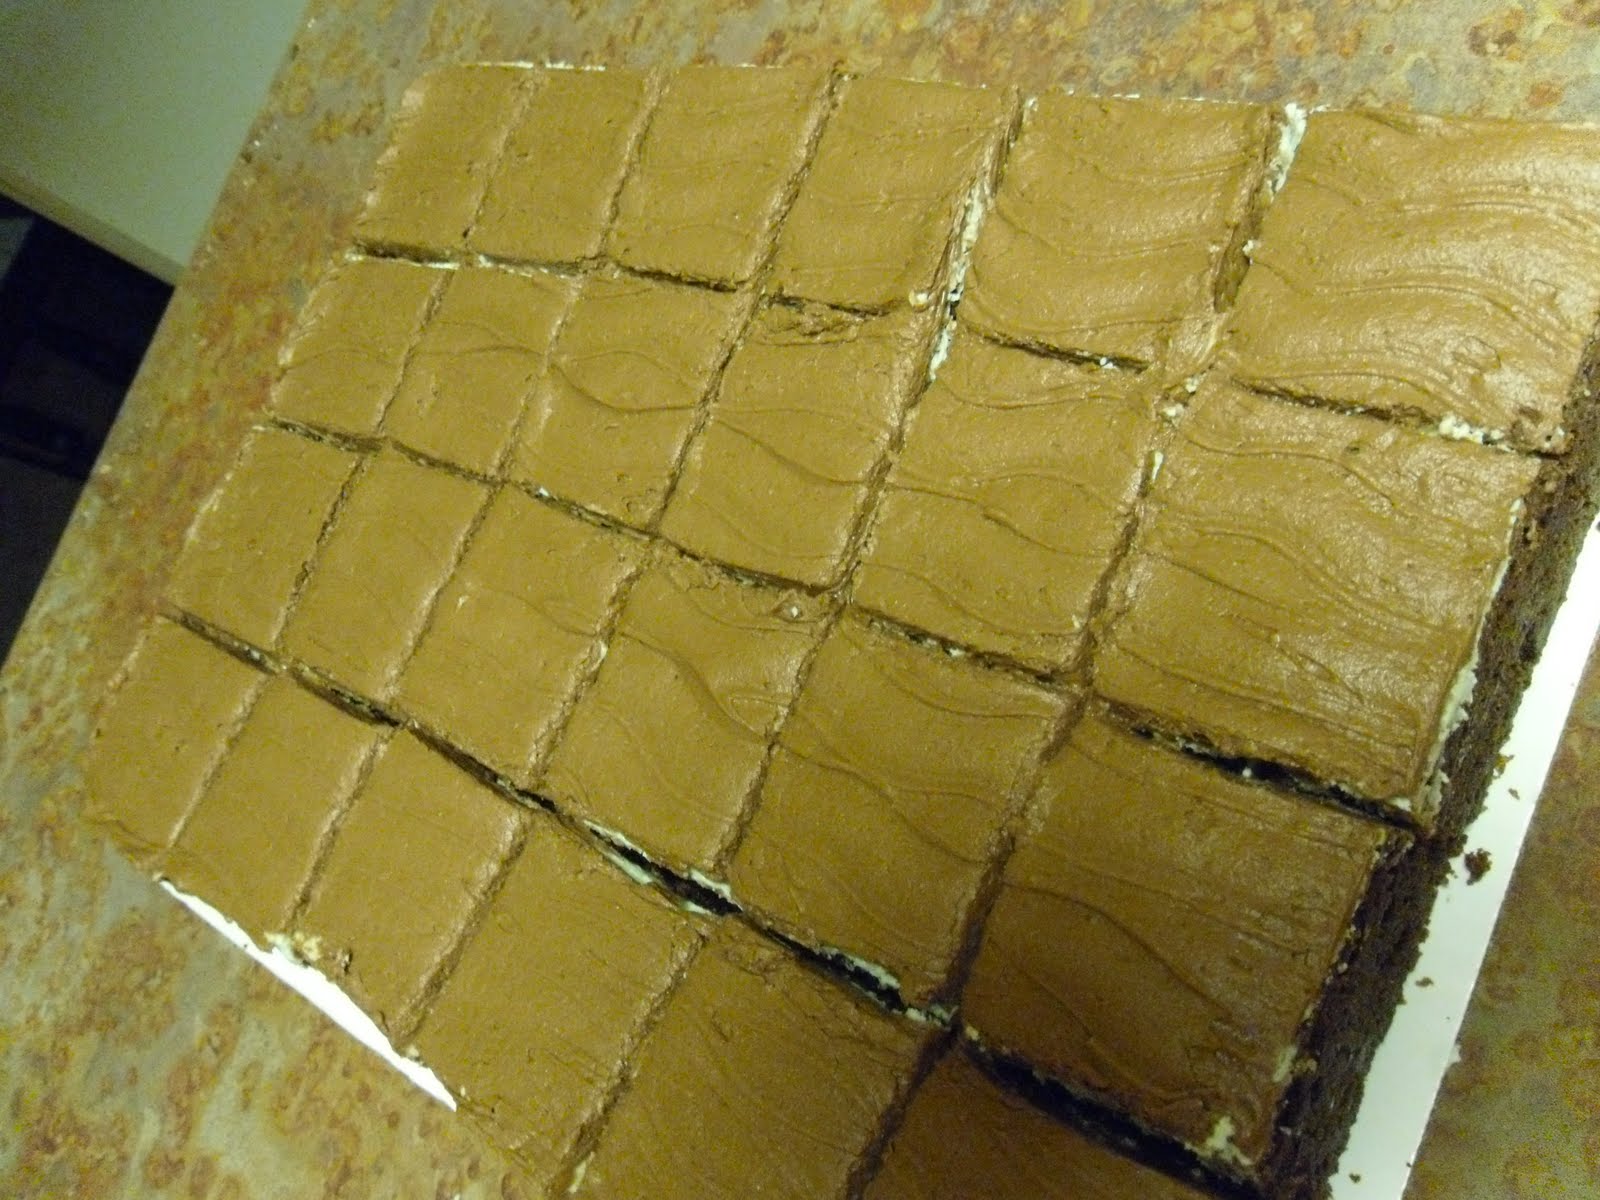
Brownies after being iced with chocolate buttercream
The mint brownies have a thin layer of green mint icing under the chocolate buttercream

Sunday, July 17, 2011

Experimenting with smaller cake pops...

I had some cake and icing left over from a chocolate lover's cake that I delivered yesterday, so I experimented in making smaller cake pops to see if I could eliminate some of the problems I encountered on the last order. Sure enough, my problems were solved. Here are the things I did differently...


I used a small cookie scoop...1 1/4 inch size, then rolled them into balls. 


After inserting the sticks, I refrigerated them for only 15-30 minutes before dipping them. This made less difference in the temperature of the cake pops and the chocolate coating. I used the same chocolate that I use for my chocolate fountain. It is thinner, drips off easier, and sets up quicker.


No cracking, no oozing, and fit into the pre-made 3x4 treat bags perfectly, which made packaging allot quicker and easier. See, anything can be solved with a little practice. Here are the finished products...


Wednesday, July 13, 2011

Cake Pops...still learning!

Two weeks ago I had an order for 8 dozen cake pops for a wedding brunch. Since it was only my second time making cake pops and actually only my first paid order, there were some things that didn't turn out perfect, but overall, they were still really cute, and each time I make something new, I learn from my mistakes, so I'm OK with that. A few things I learned this time around...I made the pops too large, my coating needs to be thinner, and I need to chill the cake pops, but not freeze them prior to coating or the coating tends to crack and/or "weep." I made two different flavors...chocolate with peanut butter frosting, and vanilla with cream cheese frosting. The cake pops were displayed in baskets, and I tried to match the cake pops and the basket decor to the wedding colors of turquoise and coral. Here's the step by step process of making the cake pops...

Bake one cake mix according to directions, let cool completely, crumble and add about 3/4 cup or so of desired frosting.
 Mix until mixture forms a dough that you can easily form into balls that are approximately 1 1/4 inch in diameter.These cake balls were a bit too large. 
After forming the balls, arrange them on a parchment lined baking pan.
Dip the end of each lollipop stick in the melted coating and insert into the cake balls.

Continue inserting all of the sticks and then chill for a few minutes in the refrigerator or freezer, but do not freeze solid. 
After chilling, dip cake balls in desired chocolate or coating. You may thin it slightly with paramount crystals or a small amount of oil. Allow the excess to drip off and then roll cake pops in sprinkles or...
decorate as desired. Place pops in pieces of styrofoam or punched holes in cardboard box until  set. Wrap in cellophane and tie with ribbon.

Here's the finished products...

4 dozen in each basket.