Showing posts with label Colorado Springs wedding cakes. Show all posts

Thursday, January 12, 2012

Time to step onto my soapbox...

Don't you hate it when people expect something for nothing? Or in my case, a wonderful cake for next to nothing. I would hope that after 34 years of decorating, that my experience and time and quality product are worth something. I'm getting tired of selling myself short. Not only that, my prices are still lower than most. It may mean a few less orders right now, but I'm not willing to sacrifice my time for pennies. If you want a beautiful and great tasting product, you've come to the right place when you call me. If you're satisfied with less, then so be it. There, I will now step off my soap box.

Monday, January 2, 2012

Update on December 3 blog post...

I put all 6 cups of sifted powdered sugar in the new Kitchenaid bowl and let it run on the low speed until it was all combined and pulled from the sides and bottom of the bowl. I let it knead for just a little longer, then took it out of the bowl, covered it with Crisco, and put it into the Ziplock bags to rest overnight. The Kitchenaid did everything...no kneading by hand...what a time and energy saver. Did I mention, I love my Kitchenaids?

Free Cake Tasting Scheduled for Saturday, February 11, 2012

Just in time for Valentine's Day...one of my free cake tasting days! If you are a prospective bride, call me to schedule a time to sample several of my most popular cake flavors. Also, compare different icings...buttercream, whipped cream, and fondants. If you haven't decided on the style of cake you want yet, you can view my portfolio to get some ideas. And because it's close to Valentine's Day, I usually have at least a couple of other tasty treats to sample too. While here, you can also review our catering menu, and schedule a time for a free consultation and tasting. Call me at 719.597.6918 or 719.510.8731. Hope to see you!


Monday, December 12, 2011

If you believe in prayer...

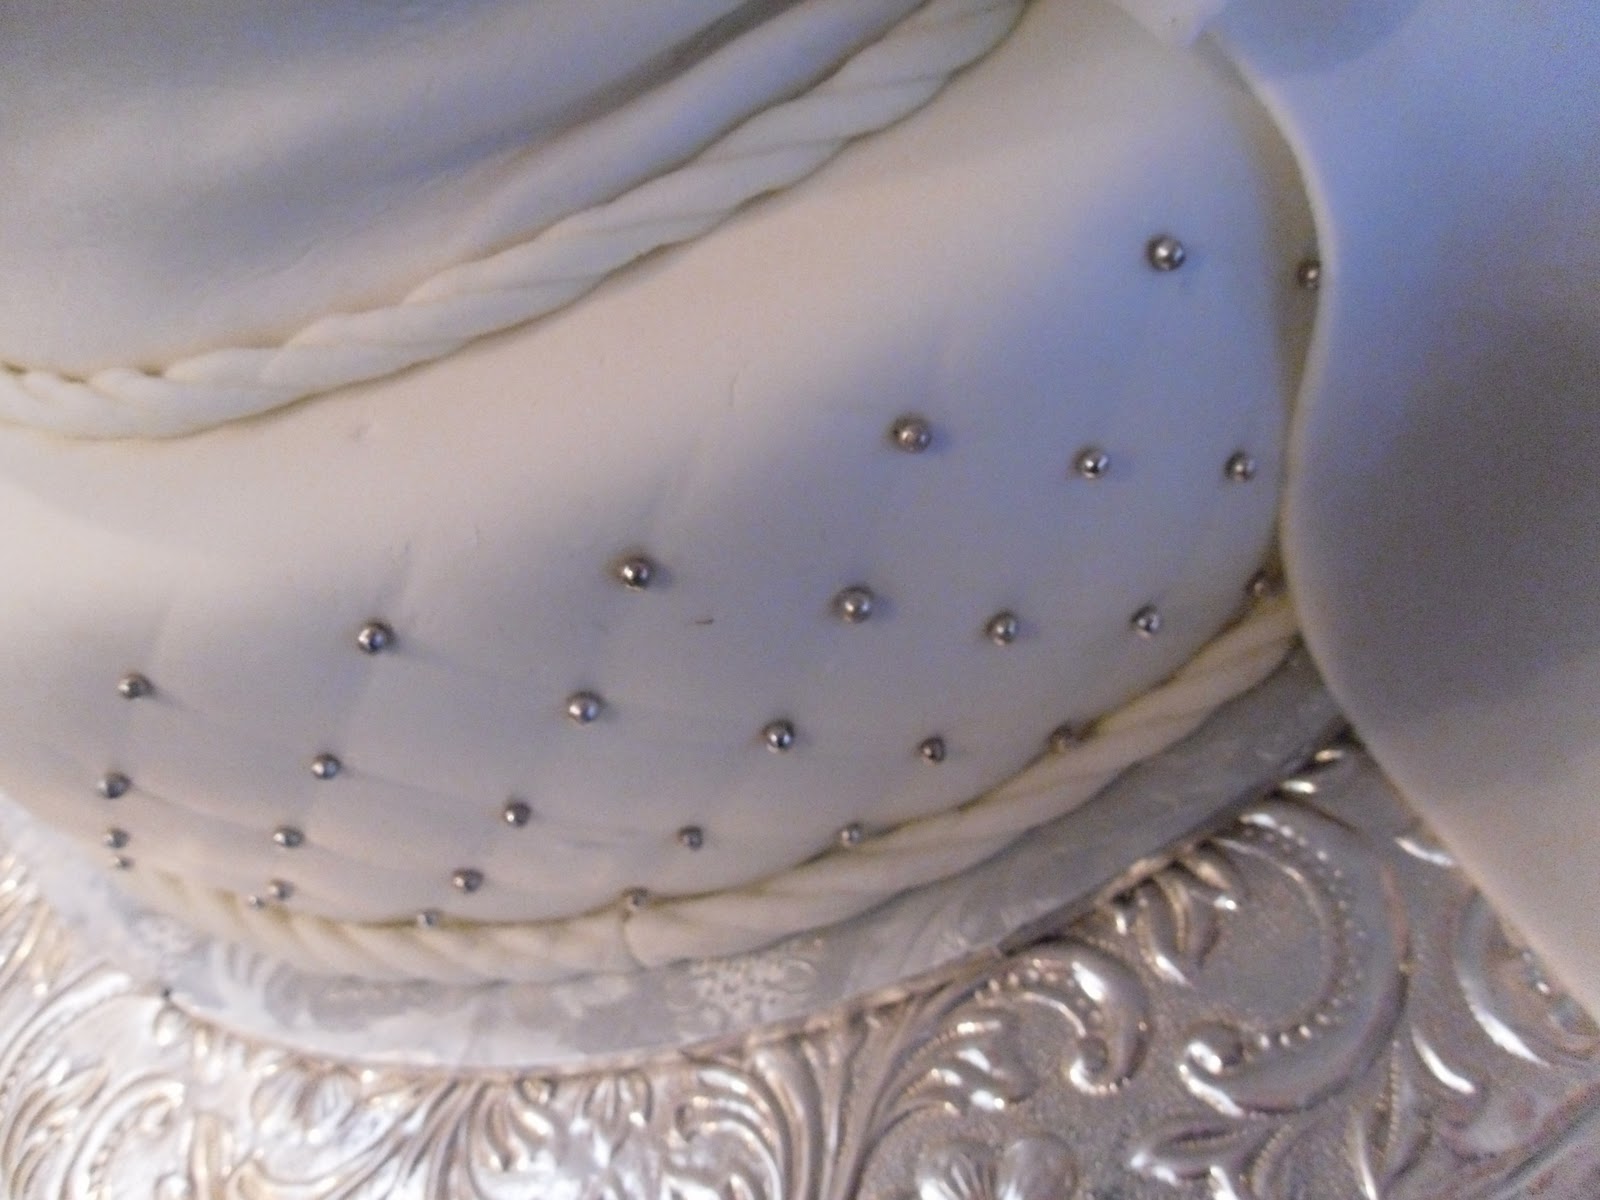
If you pray, you know that sometimes prayers aren't answered in exactly the way you plan. Such was the case last weekend when I was finishing up on a wedding cake. This was a 3-tier 6, 10, and 14 inch cake. The top tier and the bottom tier were done. The only decorations on the middle tier were a swagged ribbon and large bow. I had originally planned to use SugarVeil to make these with, but for some reason (probably because it was so cold in the kitchen), the SugarVeil was not setting up as quickly as I hoped. Finally, I said a prayer that basically asked that the SugarVeil set up quickly so that I could finish the cake. I waited as long as I could, tried finishing up on the decorations, and I was just not happy with the way they were turning out as the SugarVeil was still not set up as well as it should have been. Next idea... make the ribbon and bow from fondant... too limp. Last resort, make the ribbon and bow with part gumpaste and part fondant for added stiffness. I rolled the ribbon out and placed it on the cake with a little water, then cut out the bow and tails and put them in a plastic container to put on the cake after the tiers were set up. Final result... so much nicer than I would have ever expected. So you see, the answer to the prayer was that the SugarVeil did not set up, but I was forced to use my creativity for something that turned out much better. I later said a prayer of gratitude for the help I had received.


Friday, September 30, 2011

Making a "Chocolate Lovers Cake"

Today I made an anniversary cake for a customer whose wedding cake I also made a year ago. The wedding cake was actually a small 2 tier chocolate lovers cake with pink roses. The anniversary cake I did today was an 8 inch round chocolate lovers with pink roses. 


As I was decorating the cake today, I decided to take some pictures, so you could see how I put one of my chocolate lovers cakes together, so this blog post will be a tutorial...

My chocolate lovers cake consists of
  • moist chocolate cake
  • fudge filling
  • chocolate buttercream frosting
  • dark chocolate ganache
Bake the cake the night before so it is not too fresh to decorate. Remember, I never freeze my cakes because I believe it makes a difference in the way they taste.


Make the fudge filling and chocolate buttercream...

Fudge filling
Chocolate buttercream frosting

Remove parchment paper liner from one layer of cake and place on cake board the same size as the cake. Level off the cake and slice layer in half with a cake saw or large knife. Remove top half of layer and set aside.


Pipe an "icing dam" around bottom part of layer with chocolate buttercream. Do this using only a coupler in the decorating bag without attaching a tip. This will keep the filling intact. Also, it helps to keep your cake level. 


Fill inside the icing dam with fudge filling.


Position top half of layer, add icing dam, and fill with chocolate buttercream.


Level next layer, and position upside down on top of first layer. Remove parchment liner, and split layer in half.


Repeat same as for bottom layer, adding icing dam and fudge filling.


Replace top of layer over filling, which is actually the flat bottom of the cake. You should now have a nice flat cake, ready to be iced with chocolate buttercream.


Ice cake with chocolate buttercream and let set while making the ganache.


Position wire cooling rack over turntable, and place the cake on the rack. I like to use a turntable, so that you can turn the cake while applying the ganache to make sure all the sides are being covered. I like the Oxo turntable because it has sides on it that allows the ganache to settle under the cake without flowing over the edge. 


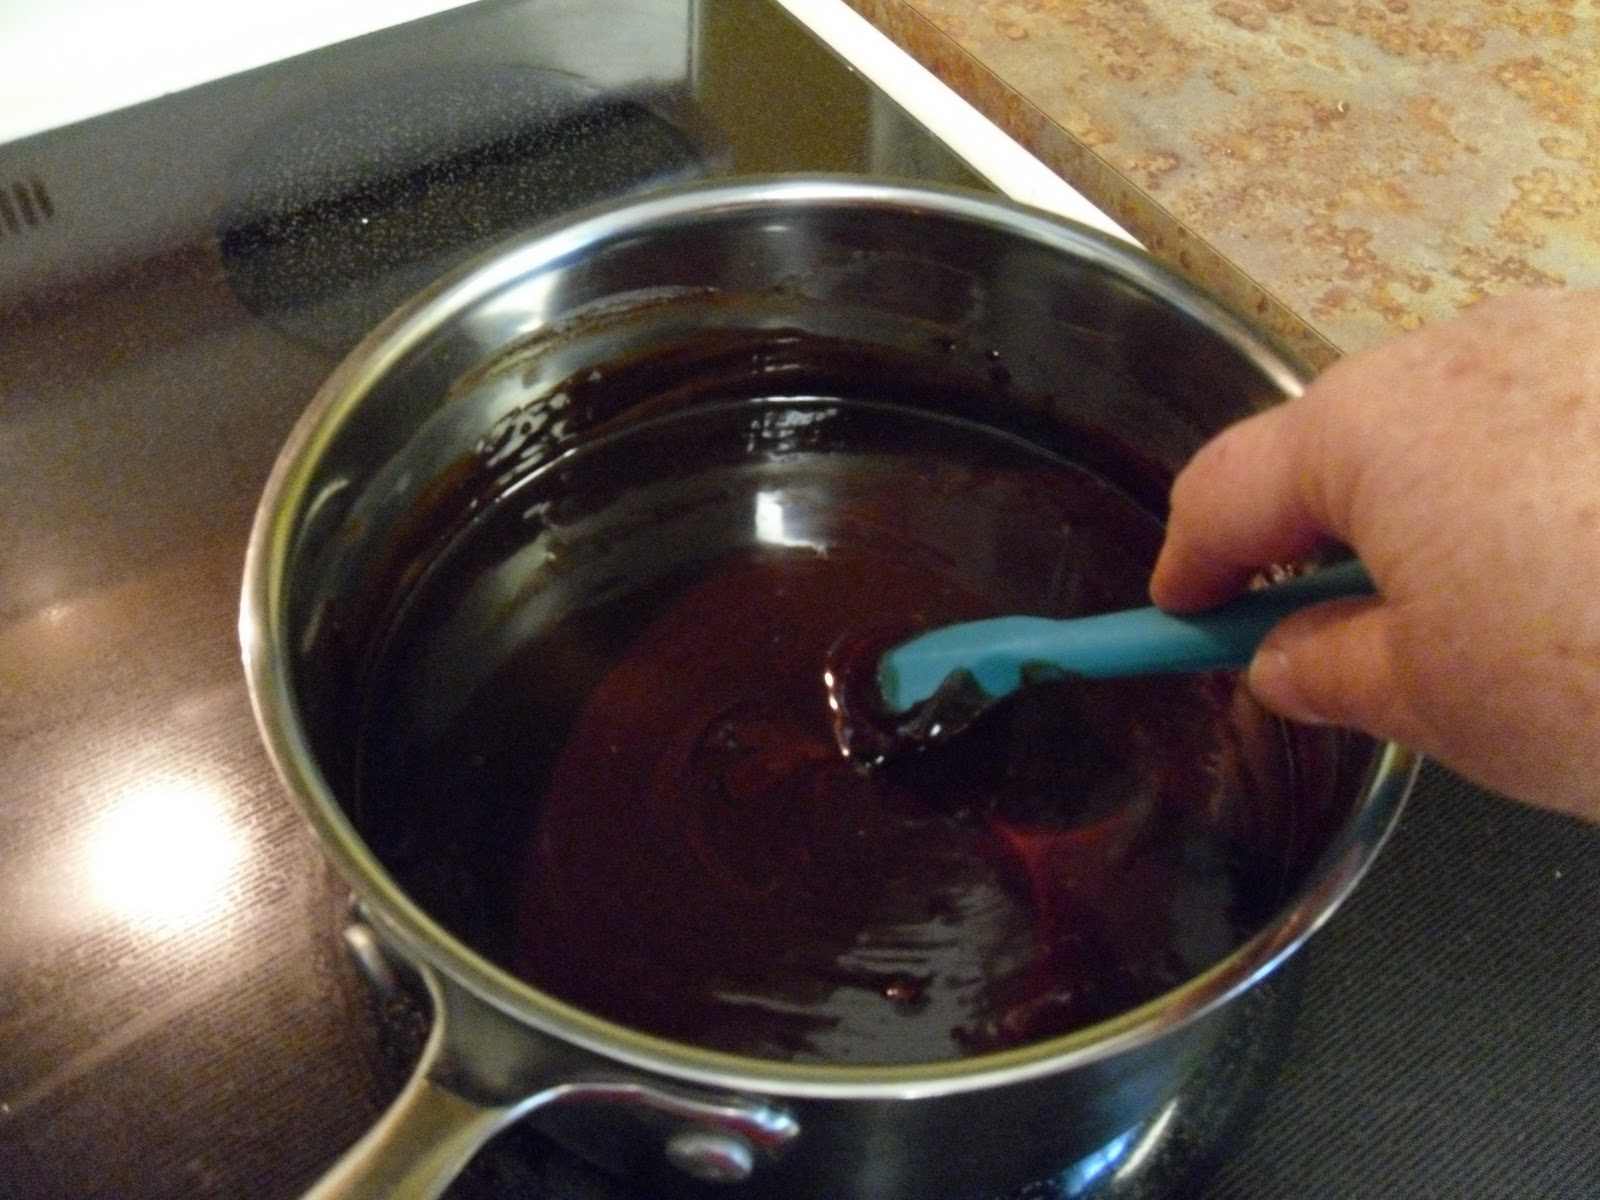
Chocolate ganache consists of heavy whipping cream and dark cocoa candy melts. Heat the cream until hot but not boiling. Add the candy melts and stir until smooth.


Pour ganache over cake and allow to drip through cooling rack. Carefully turn turntable to make sure all sides are being covered. Allow ganache to set up before moving to covered cake board.


After ganache has set, move to cake board and decorate as desired.


Whip up remaining ganache slightly as it cools, allowing it to firm up enough to put in a decorating bag with tip to pipe borders, flowers, etc. I usually do all of the decorations in the chocolate ganache.


Finished cake...serve with tall glass of ice cold milk...yum!


Monday, September 12, 2011

Grooms Cake for Avalanche fan...

Jake Lundy, the groom at the last wedding we catered, is a huge Colorado Avalanche fan, so this is the cake I did for him. It was a carrot cake, covered with fondant, and the emblems were all cut out of gumpaste, using my Cricut Cake and Make the Cut software.


Cupcakes...

Did I ever say how much I dislike doing cupcakes...especially for weddings? If you don't know by now, I really don't like doing cupcakes, especially when I'm working on a large catering order, and the bride wants cupcakes instead of a cake. Cupcakes rank right up there with sheet cakes in my book. They actually cost about the same as a nice cake, but...

  • You need to do them the day of the wedding so they will be fresh
  • They take allot of time
  • They need to be placed on a special cupcake stand to look pretty
  • They can be messy to eat
From now on, when I have a large catering order and the bride wants cupcakes, I'm sending them to my friend Shelly, who enjoys decorating cupcakes.

So last Saturday, I was still working on the cupcakes when we should've been leaving for the catering job. They turned out pretty, yes, but they were a pain in the ...  These cupcakes were four different flavors...fudge marble with Bavarian Creme filling, Swiss chocolate with coconut pecan filling, vanilla with raspberry mousse, and carrot. They all had cream cheese frosting. Some were decorated with fondant flowers, while others were decorated with air-brushed fondant and edible lace made from Sugarveil. I decorated an 8 inch round to place on top of the cupcake stand for the bride and groom to cut for pictures.


Sunday, August 14, 2011

Sheet cakes vs. specialty cakes...


So, over time I have developed a dislike for sheet cakes at weddings...a few reasons why...

  • they take up allot of room
  • they don't look all that great
  • only one layer of filling vs. two
  • square little piece of cake looks tacky on plate
  • usually not allot of variety
When my bride's want a smaller wedding cake, and want extra cakes to complete the number of servings needed, I now try to convince them to go with round specialty cakes instead of the sheet cakes. Not only do they look nicer, but serve up nicer, and give your guests more variety. The price is almost the same, and the results far superior, at least in my humble opinion. When I'm catering a wedding and also furnishing the cake, we have a separate table for the wedding cake (of course), and then at the end of the buffet table, I will set up the specialty cakes. That way, if the bride wants to wait for awhile before cutting the cake, the guests can still have a piece of cake early in the reception. I usually prepare about 3 different flavors, and set the cakes up on glass blocks. Some brides that are having more than one reception, will have their wedding cake at one reception, and then opt out for serving only the specialty cakes at another reception or open house. Also, for older brides or second marriages, some are going totally for the beautiful specialty cake set-up instead of a wedding cake. Some of my most popular flavors are chocolate lover's, raspberry fudge, carrot with pecans, strawberry shortcake, banana split, spice with cream cheese pecan, and Shirley Temple. Check out these pages on my website to read about each of these flavors...
 http://www.cathyleavittcreations.com/home/specialty-cakes
http://www.cathyleavittcreations.com/flavors

Specialty cakes in lieu of wedding cake...on separate table
Specialty cakes at end of buffet table

Wednesday, July 13, 2011

Cake Pops...still learning!

Two weeks ago I had an order for 8 dozen cake pops for a wedding brunch. Since it was only my second time making cake pops and actually only my first paid order, there were some things that didn't turn out perfect, but overall, they were still really cute, and each time I make something new, I learn from my mistakes, so I'm OK with that. A few things I learned this time around...I made the pops too large, my coating needs to be thinner, and I need to chill the cake pops, but not freeze them prior to coating or the coating tends to crack and/or "weep." I made two different flavors...chocolate with peanut butter frosting, and vanilla with cream cheese frosting. The cake pops were displayed in baskets, and I tried to match the cake pops and the basket decor to the wedding colors of turquoise and coral. Here's the step by step process of making the cake pops...

Bake one cake mix according to directions, let cool completely, crumble and add about 3/4 cup or so of desired frosting.
 Mix until mixture forms a dough that you can easily form into balls that are approximately 1 1/4 inch in diameter.These cake balls were a bit too large. 
After forming the balls, arrange them on a parchment lined baking pan.
Dip the end of each lollipop stick in the melted coating and insert into the cake balls.

Continue inserting all of the sticks and then chill for a few minutes in the refrigerator or freezer, but do not freeze solid. 
After chilling, dip cake balls in desired chocolate or coating. You may thin it slightly with paramount crystals or a small amount of oil. Allow the excess to drip off and then roll cake pops in sprinkles or...
decorate as desired. Place pops in pieces of styrofoam or punched holes in cardboard box until  set. Wrap in cellophane and tie with ribbon.

Here's the finished products...

4 dozen in each basket.