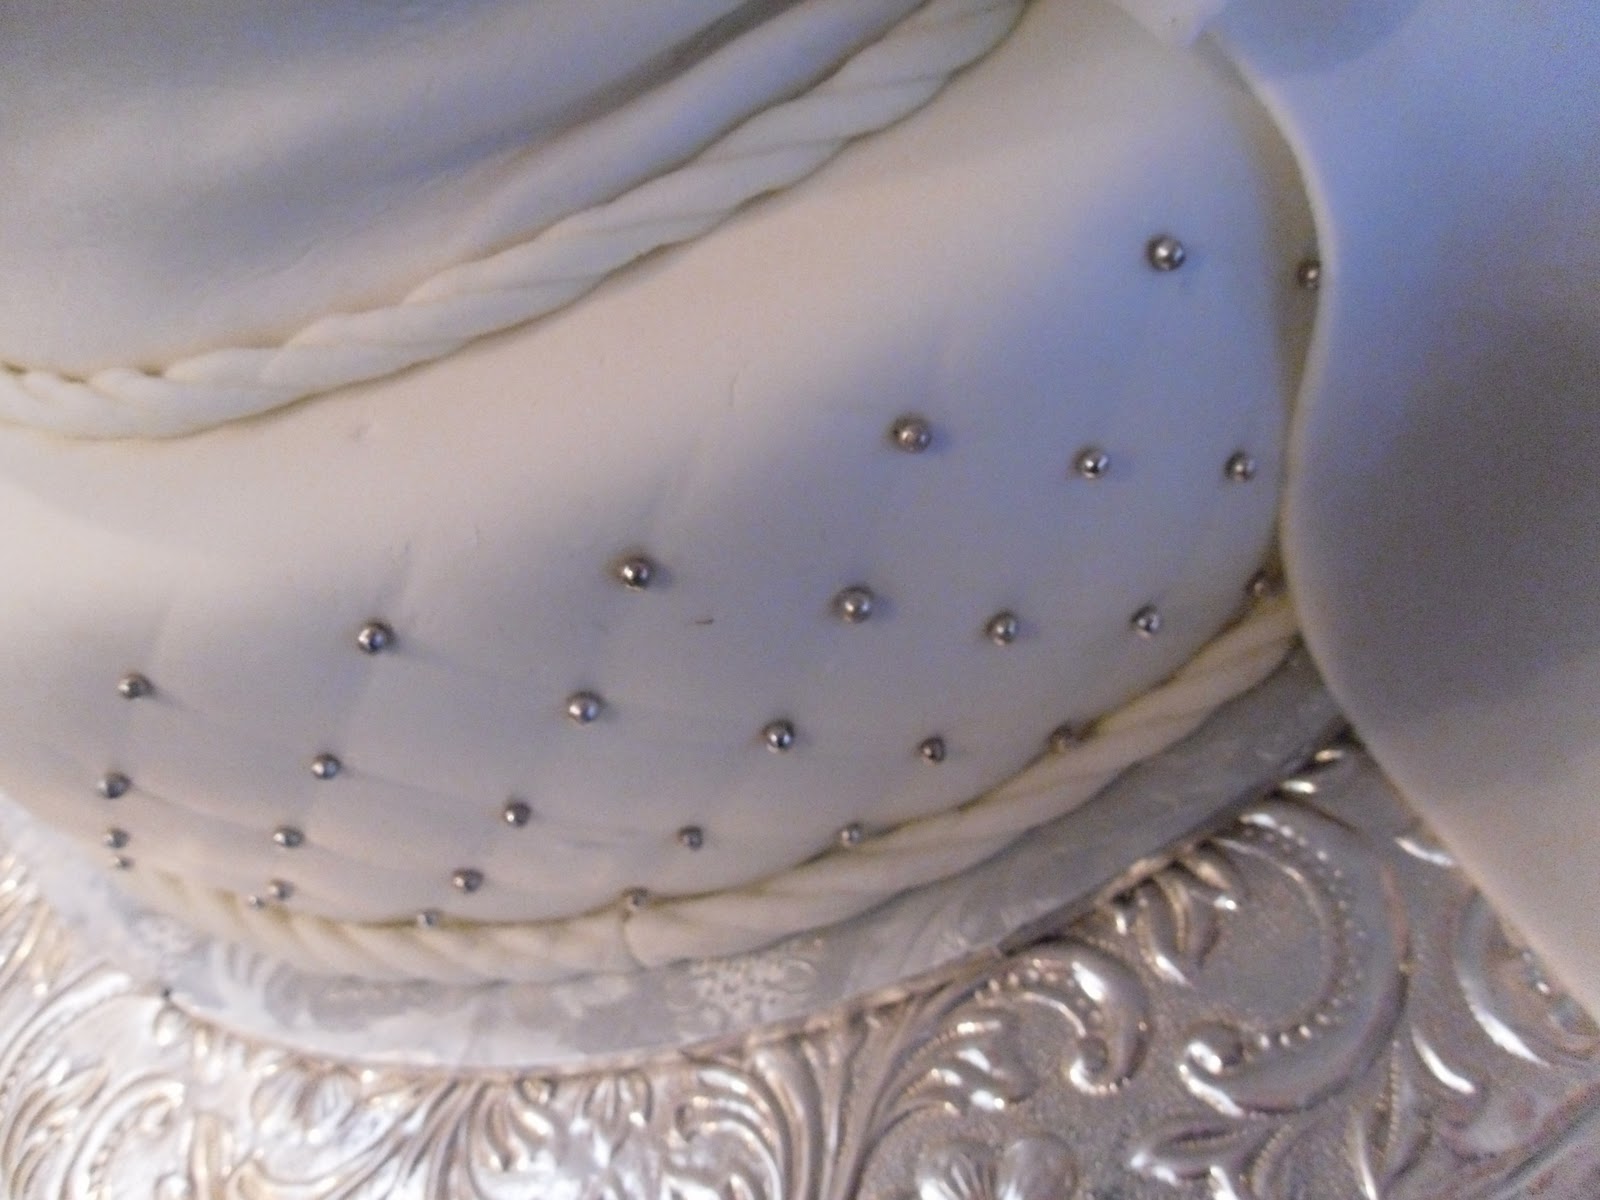
I was asked by a friend to design a cake for a baby shower today. The mom-to-be loves lace and pearls and of course, lots of pink since she is having a girl. Pale pink fondant with lace and pearls... yeah, I can do that. I was excited to use my new "Sugar Dress" product for making the lace. Wow... so much easier than "Sugar Veil." That's the subject of another blog post. I brushed the fondant pearls with plenty of pearl dust so they looked like real pearls, and then placed on some beautiful gumpaste flowers along with a shimmery bow. . . very pretty. I'm still practicing making gumpaste flowers, but each one turns out a little better. When I started decorating cakes 37 years ago, I learned how to decorate everything with buttercream and royal icing, including flowers. So, this old gal is learning new techniques everyday with fondant and gumpaste. I'm actually having fun with it too.
Showing posts with label gumpaste. Show all posts
Saturday, May 3, 2014
Tuesday, April 9, 2013
How's your penmanship?
Is your handwriting less than desirable? Do you stress out whenever you need to write on a cake? Here are some ideas that might help...
- Writing on paper and writing on a cake are not the same. You write differently for each. When using a decorating bag, you must use your entire arm, from the shoulder down, instead of just moving your hand and wrist, as you would with writing on paper.
- Make sure your icing is the proper consistency...not too stiff, but not too runny either.
- Measure or eyeball where your letters will be so you can space them evenly. Sometimes it's easier to work from the outside in, or from both ends of the lettering to the middle.
- Try using different fonts. Have your message printed out on a piece of paper just like you want it on the cake, so you can use it as a guide.
- Practice, practice, practice! Write your message several times on a practice board, if necessary, before writing on the cake.
- Don't be afraid to scrape your lettering off with a small spatula and try again, if necessary. It's easier to do repair work on crusting buttercream or fondant.
- When your letters need to be exact, use some sort of letter cutters. I like to use "Tappits." They work best with a very stiff, slightly dry gumpaste or modeling chocolate, rolled out very thin. I love modeling chocolate. Recently, I cut out very small letters with my scrapbook letter punches using modeling chocolate rolled out very very thin. You can also use letter punches with icing sheets. (The modeling chocolate tastes much better, of course.)
Here are some examples of lettering, some done freehand, and others using letter cutters or punches. Remember, I have been decorating cakes for over 35 years and my first lettering on cakes did not look like what it does now. Practice, practice, practice!
"Department of the Air Force" on seal and capital letters on cake all done free hand.
All lettering done with Tappits except "United States of America" punched out with scrapbooking punch.
Air Force Seal-all parts except for lettering cut out with Cricut Cake. Border piped with royal icing.
Upper and lower case Tappits. Upper case set comes with strip cutter.
"Dept. of AF" and "USA" cut out of modeling chocolate. The rest cut out of gumpaste.
Scrapbook punches
Another font...upper and lower case funky letter Tappits
Click here for a You Tube video on using Tappits.
Graduation cakes for twin sisters...a little different font for each...all done free hand.
Don't let writing on cakes intimidate you. Just keep practicing and you'll eventually have beautiful writing on your cakes.
Saturday, May 26, 2012
Graduation season
Graduation...always the start of my busy season with graduation, change of command, weddings, and birthdays. Here's the latest graduation cake for a graduate from the AF Academy. The AF seal is made from my homemade gumpaste and cut out on my Cricut Cake. All lettering is freehand except for the "United States of America." That is cut out of an icing sheet, using a scrapbook punch. The letters are then attached to the gumpaste with just a tiny bit of water. If you use too much water, the letters will dissolve. Next on the agenda... change of command cake for Thursday, and 6 dozen cake pops for Saturday.
Saturday, February 4, 2012
Dolphin Cupcakes
If you follow my blog, by now you know that I don't care much for cupcakes, but... I must admit...these turned out pretty cute. A past wedding cake customer ordered these for a friend's bridal shower. They were having a beach theme, because the bride and groom are planning on getting married in the Bahamas or Virgin Islands, or somewhere tropical (I can't remember for sure) and the bride especially loved Dolphins and flowers. So, I looked for patterns online for dolphins and ocean waves, and with a little help from my Cricut Cake, this is what I came up with. The flavor was lemon with lemon curd filling and cream cheese icing.
Looks like a pod of dolphins swimming their way into your tummy
Monday, December 12, 2011
If you believe in prayer...
If you pray, you know that sometimes prayers aren't answered in exactly the way you plan. Such was the case last weekend when I was finishing up on a wedding cake. This was a 3-tier 6, 10, and 14 inch cake. The top tier and the bottom tier were done. The only decorations on the middle tier were a swagged ribbon and large bow. I had originally planned to use SugarVeil to make these with, but for some reason (probably because it was so cold in the kitchen), the SugarVeil was not setting up as quickly as I hoped. Finally, I said a prayer that basically asked that the SugarVeil set up quickly so that I could finish the cake. I waited as long as I could, tried finishing up on the decorations, and I was just not happy with the way they were turning out as the SugarVeil was still not set up as well as it should have been. Next idea... make the ribbon and bow from fondant... too limp. Last resort, make the ribbon and bow with part gumpaste and part fondant for added stiffness. I rolled the ribbon out and placed it on the cake with a little water, then cut out the bow and tails and put them in a plastic container to put on the cake after the tiers were set up. Final result... so much nicer than I would have ever expected. So you see, the answer to the prayer was that the SugarVeil did not set up, but I was forced to use my creativity for something that turned out much better. I later said a prayer of gratitude for the help I had received.
Monday, September 12, 2011
Grooms Cake for Avalanche fan...
Jake Lundy, the groom at the last wedding we catered, is a huge Colorado Avalanche fan, so this is the cake I did for him. It was a carrot cake, covered with fondant, and the emblems were all cut out of gumpaste, using my Cricut Cake and Make the Cut software.
Thursday, September 23, 2010
Two flags, two emblems...different materials
Last time I did my Air Force flag cake, it was before I was introduced to the amazing capabilities of SugarVeil . The first flag was made from fondant...looked nice, but was very heavy and hard to place on the cake. I needed to add extra support in the cake so the flag would not crush it. This time, the flag was made from SugarVeil and no extra support was needed. The flag resembled even more closely an actual fabric flag, complete with weight and texture. The colors were also more vivid. The only thing I would have done differently were the stars. I cut them out of gumpaste...they looked great, but had a difficult time sticking to the SugarVeil material. I will be looking for a star punch to cut the stars out of the SugarVeil next time. I'm still having a difficult time using SugarVeil in my Cricut Cake. The SugarVeil pieces just adhered to each other without much problem. I didn't even need to use water. And the flag draped very nicely on the cake...just like an actual fabric flag.
I used to make all of my Air Force emblems out of royal icing...looked OK, but now even more exact when cut from gumpaste with the Cricut Cake. In the pictures, you can see the differences.
Sunday, August 22, 2010
Silicone Fondant Molds
Sometimes I get excited over simple little things. One decorating tool that I really LOVE is my blue silicone fondant bead mold. There are lots of these silicone fondant molds, but I really love this bead mold. I used it for the first time on the cake I did yesterday, and it was so simple to use and the results were even greater than I expected. So much easier to put on a fondant covered cake than to try to pipe a perfect bead border in buttercream at the reception site after the cake is stacked.
Here are a few hints when working with the silicone molds...
- Use half fondant and half gumpaste...work together thoroughly until smooth and pliable
- Roll the fondant/gumpaste mixture into a rope the length you need, then push it into the mold
- Trim the excess off with a small spatula
- Put in the freezer for approx. 3-5 minutes before unmolding
- Unmold onto a non stick surface and store in ziplock bag until ready to use
- Attach to fondant covered cake with a small amount of water...apply with a small paint brush around entire border area
Sunday, March 28, 2010
Happy Birthday, Carissa!
Today is my youngest granddaughter, Carissa's 1st birthday. We had a party for her the week before they moved to Hawaii, and here is a picture of the cake I did for her. It was done in chocolate marshmallow fondant with a gumpaste bow. Baking cocoa is added to the soupy marshmallow mixture before adding the powdered sugar. It's yummy. The rest of the pink decorations were done in pink marshmallow fondant. The cake flavor was vanilla with raspberry mousse filling. I don't know which she enjoyed more...the cake or the ice cream.
Subscribe to:
Posts (Atom)