Showing posts with label Chocolate lover's cake. Show all posts

Friday, September 30, 2011

Making a "Chocolate Lovers Cake"

Today I made an anniversary cake for a customer whose wedding cake I also made a year ago. The wedding cake was actually a small 2 tier chocolate lovers cake with pink roses. The anniversary cake I did today was an 8 inch round chocolate lovers with pink roses. 


As I was decorating the cake today, I decided to take some pictures, so you could see how I put one of my chocolate lovers cakes together, so this blog post will be a tutorial...

My chocolate lovers cake consists of
  • moist chocolate cake
  • fudge filling
  • chocolate buttercream frosting
  • dark chocolate ganache
Bake the cake the night before so it is not too fresh to decorate. Remember, I never freeze my cakes because I believe it makes a difference in the way they taste.


Make the fudge filling and chocolate buttercream...

Fudge filling
Chocolate buttercream frosting

Remove parchment paper liner from one layer of cake and place on cake board the same size as the cake. Level off the cake and slice layer in half with a cake saw or large knife. Remove top half of layer and set aside.


Pipe an "icing dam" around bottom part of layer with chocolate buttercream. Do this using only a coupler in the decorating bag without attaching a tip. This will keep the filling intact. Also, it helps to keep your cake level. 


Fill inside the icing dam with fudge filling.


Position top half of layer, add icing dam, and fill with chocolate buttercream.


Level next layer, and position upside down on top of first layer. Remove parchment liner, and split layer in half.


Repeat same as for bottom layer, adding icing dam and fudge filling.


Replace top of layer over filling, which is actually the flat bottom of the cake. You should now have a nice flat cake, ready to be iced with chocolate buttercream.


Ice cake with chocolate buttercream and let set while making the ganache.


Position wire cooling rack over turntable, and place the cake on the rack. I like to use a turntable, so that you can turn the cake while applying the ganache to make sure all the sides are being covered. I like the Oxo turntable because it has sides on it that allows the ganache to settle under the cake without flowing over the edge. 


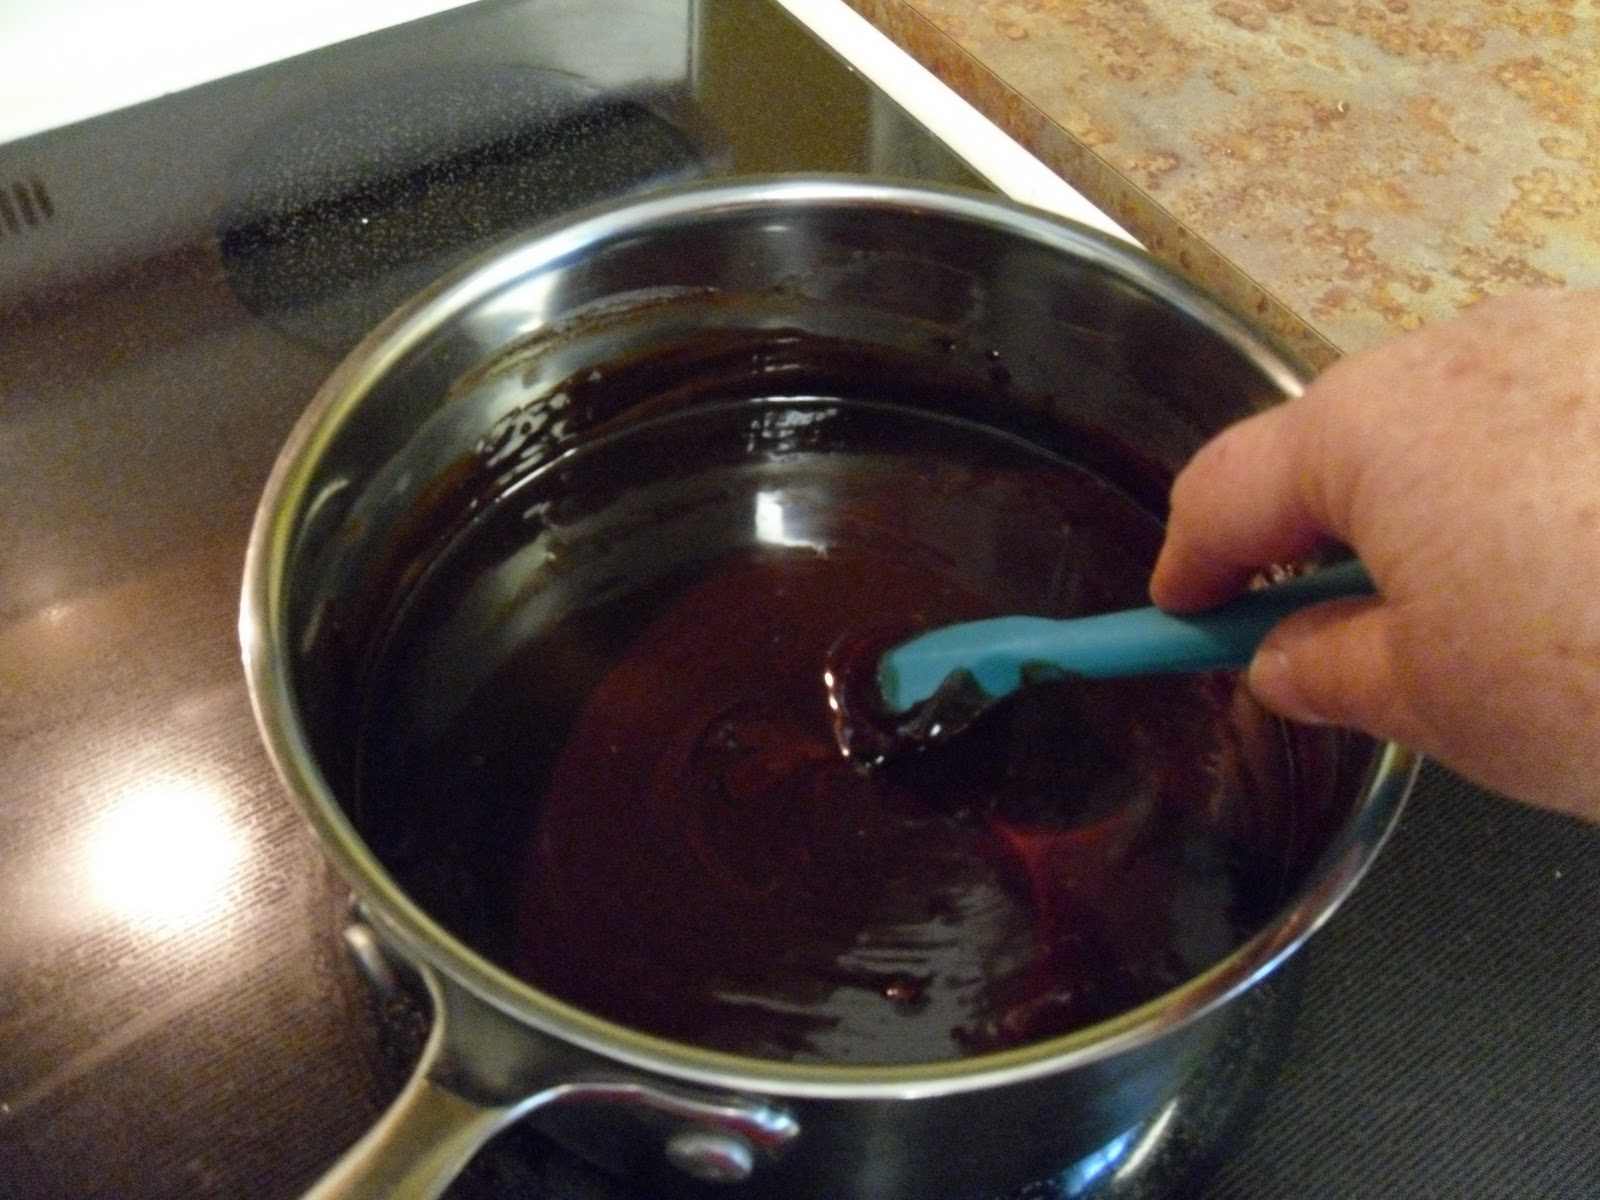
Chocolate ganache consists of heavy whipping cream and dark cocoa candy melts. Heat the cream until hot but not boiling. Add the candy melts and stir until smooth.




Pour ganache over cake and allow to drip through cooling rack. Carefully turn turntable to make sure all sides are being covered. Allow ganache to set up before moving to covered cake board.


After ganache has set, move to cake board and decorate as desired.


Whip up remaining ganache slightly as it cools, allowing it to firm up enough to put in a decorating bag with tip to pipe borders, flowers, etc. I usually do all of the decorations in the chocolate ganache.


Finished cake...serve with tall glass of ice cold milk...yum!


Monday, December 6, 2010

Who says you can't have a chocolate wedding cake...look at this...

We catered a large wedding last weekend and the bride wanted a cake covered in chocolate fondant. The decorations were simple, yet elegant. The bride's mom was originally a little concerned that it wouldn't  look right or match the other decorations, but it was just fine. We substituted some snowflakes on the second tier instead of using the original flower motif. All of the decorations were cut with my Cricut Cake. We used fresh hydrangeas and miniature roses to complete the decorations. We also served 3 other specialty cakes and cheesecake. All of those were eaten, but not much of the wedding cake was gone by the end of the reception. Part of the reason for that was possibly because the cake was not cut until half way through the reception. This is the first wedding cake I have decorated using chocolate fondant. For this one, I used the Hershey's Special Dark cocoa powder.

 All designs cut out with Cricut Cake

Shirley Temple (chocolate and vanilla layers with chocolate mousse and whipped cream with white chocolate shavings), Carrot cake with pecans, and Chocolate Lover's (chocolate layers with fudge filling covered in dark chocolate ganache). Also cheesecake with caramel and raspberry sauce.

Thursday, October 7, 2010

Never on Sunday...

Last Saturday, after I returned home from AZ, I baked and decorated a small 2-tier chocolate ganache wedding cake. I delivered it to the customer's apartment on Saturday evening for her wedding the following day. I normally don't stack tiers together until I get to the delivery site; however, on this small cake, I needed it to be complete when it arrived, and she needed to be able to transport it to the site the following day. The cake had a very stable filling (fudge), and was covered in chocolate ganache, with only ribbon, small buttercream roses and a little scrollwork for decorations. To keep the tiers intact, I used a long wooden dowel, sharpened with a pencil sharpener, and pushed down the center of both tiers.

Sunday, April 25, 2010

The Best of Both Worlds...

On Friday, I decorated and delivered cakes for a friend of ours from church. They were getting married in Denver and returning to Colorado Springs for a 6 pm reception. Only problem was that we had one of our April snowstorms, so the bride and groom didn't get to the reception until 7. In the meantime, I had also made 3 specialty cakes - carrot, chocolate lover's, and Shirley Temple. So, since we didn't want to cut the wedding cake until after the bride and groom arrived, we had plenty of other cake to serve. Actually, it worked out much better this way. You see, the wedding cake was just plain vanilla with no filling...good, but not nearly as good as the 3 other cakes. The wedding cake turned out beautifully, so we had the beautiful wedding cake PLUS the great tasting specialty cakes, without cutting the wedding cake. Granted, the family had lots of wedding cake left over that I understand they were able to share with friends, but it was really having the "best of both worlds."


Wednesday, July 15, 2009

Chocolate ganache

This morning I whipped up a cake at the last minute for Bruce to take to work for his birthday. When I say last minute, that was about what happened. First of all, last night I had planned to bake the cake after it cooled down in the house and I could open up the windows. So, at 10:15, I got the cake mix out and realized that I didn't have enough eggs. So I went to the store at 10:30 pm to buy eggs, came home and baked the cake. I got up this morning a little after 5 am, so I could put the cake together and have it ready by no later than 6:30. I decided to make it a Boston creme flavor, since I knew Bruce would like that, so I torted the layers, and put bavarian creme filling between two of the layers and put a rich chocolate buttercream between the other. Then I covered the entire cake with a chocolate ganache. I had lots of strawberries that I had purchased a couple of days ago and plenty of chocolate, so decided to dip strawberries to add to the top of the cake. As you can see, it wasn't perfect (lettering, for example), but Bruce said it tasted great! I guess it wasn't bad for about an hour or less of work.

Last minute birthday cake covered in ganache and decorated with dipped strawberries

Chocolate ganache is a combination of whipping cream and melted chocolate that is poured over the cake and sets up as it cools into a rich chocolate coating. I usually do a crumb coating of chocolate buttercream on the cake first. You put the cake on a rack over a drip pan, and pour the ganache over the cake and then let it set up. Any ganache that's left over you can let set up to a stiffer consistency and then use it to decorate the cake. I experimented this morning to see if I could use some leftover ganache from the last cake I did. So I melted it in the microwave. When I did that, the cream and chocolate separated, so I could not use it to pour on the cake. However, what I did do was pour it into my KitchenAid and beat it until the cream and chocolate combined again and then whipped it with the flat beater attachment until it resembled the consistency of a chocolate buttercream. It became a little lighter in color than the original ganache, but you could use it for decorating, borders, or for making chocolate truffle candies. It was good to know that at least it didn't go to waste.

Chocolate Ganache Recipe:

(2) 12 oz. packages chocolate candy melts (I like Guittard, but you can use any good quality chocolate candy melts or good chocolate cut in small pieces.)
About 3/4 cup cream

Heat the cream in a medium saucepan until hot, but not boiling. Remove from heat and add the chocolate and stir until smooth. Add more cream, but only a little at a time, if necessary. Pour over cake and let set. Add decorations if desired.

Chocolate Lover's cake covered in ganache

Whipped ganache

Chocolate buttercream